

This FAQ provides both generic answers as well as more specific answers relating to the modern high end canvas transfer techniques given in The Art Print Masterpiece.
A canvas transfer is the process of removing an image from an art print and transferring it onto artist canvas. The transferred image is subsequently embedded causing the peaks and troughs of the canvas weave to give texture to the image, just as you see with many original painting on canvas.
The technique used in the manual is regarded as a high-end canvas transfer since there is no degradation to the image whatsoever, which often happens when using so called canvas transfer mediums.
An enhanced canvas transfer is when brushstroke texture and other effects, such as ageing, is added - which is fully described in the manual.
No. You should be able to view the manual without any special readers, or viewers. You can easily check that the manual is compatible with your desktop and hand-held devices by checking out this eBook sampler.
Certainly, unlike many eBooks, the print function is enabled so that you will be able to print out a hard copy for yourself.
Certainly, since the colour is already provided by the art print image, there is no colour mixing involved. Where applicable to the art print, the appearance of raised brushwork certainly increases the illusion of an original painting - providing it is done accurately. The book provides lots of information on how to achieve accurate and convincing brushwork using a transparent paint.
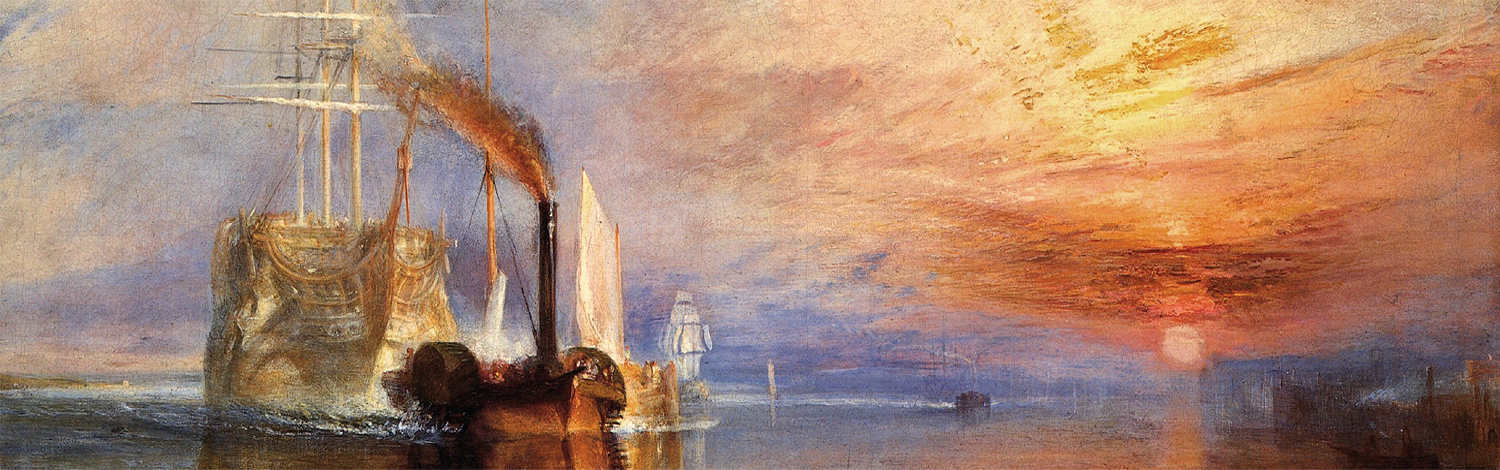
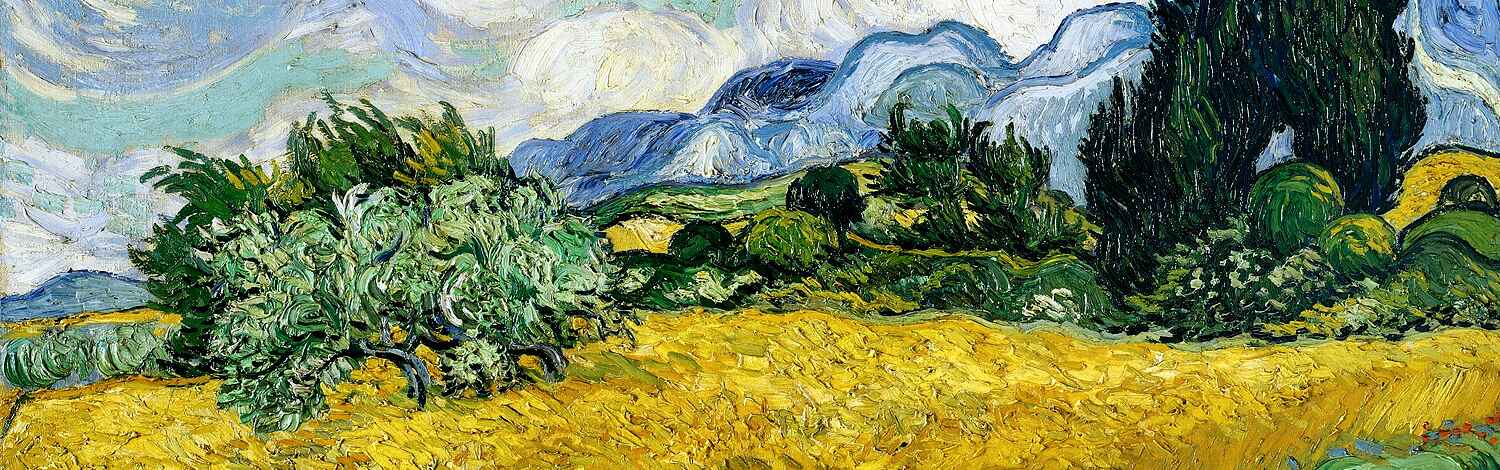
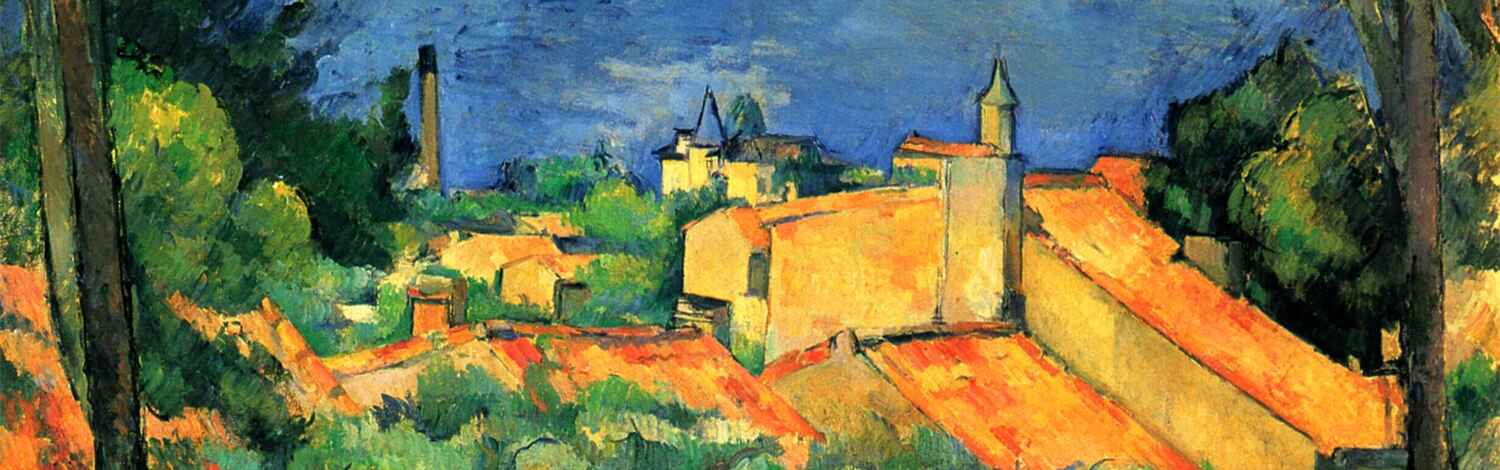
If you have no previous experience, but patience and average skills, you should have no problems with brushwork when you start your first project, Importantly, when starting off, please take your time. Providing the painting style of the original is relatively simple, such as a van Gogh or Monet. If you follow this simple rule, then you will find that your efforts will be well rewarded, right from the start. As your experience grows, the speed and accuracy of your brushwork will increase and you will find yourself graduating to more complex and detailed styles.
The materials needed for a canvas transfer are: the art print, unprimed artist canvas, acrylic gesso, brush for applying the gesso,
If you're an absolute beginner just starting off, I would allow a couple of hours to set-up, prepare and transfer the art print image to canvas. The best way to get it right first time is to start off with a small art print and carefully follow the step-by-step instructions.
Brushwork is done using a 'transparent paint', or gel. It's the same as artist acrylic paint but without the pigment. The gel dries transparent causing the colours from the image to radiate from the gel surface. Using the gel, brushwork is done by following the brushstroke shown on the art print image.
See the section on brushwork.
The finished canvas artwork should be finished with one or two thin coats of UV varnish. The varnish protects the brushwork and image from dust and grime and tends to brighten the colours. It also adds ultra violet light protection to prevent fading.
If you've followed the instructions given in The Art Print Masterpiece then your artwork should resist fading and discoloration for around 100 years or more, providing it is correctly displayed, or stored. You may think that's a pretty impressive claim and therefore deserves some elaboration.
Discerning buyers may well enquire into how long your painting reproductions will last. It's also a strong selling feature that deserves an authoratitive answer. The technique given in the manual only works with art prints, fine art prints or giclee prints that typically use pigment inks. Pigment inks are naturally UV resistant and are considered archival, meaning they resist fading better than dye-based inks. Accordingly, this safeguard provides an additional assurance of longevity that may be added to your Certificate of Authenticity if you're planning on selling your work.
Pigment inks consist of tiny solid particles suspended in a liquid, providing superior water and fade resistance, making them ideal for long-lasting art prints. In contrast, dye inks are dissolved in a liquid, making them less durable and can fade or smudge more easily when exposed to moisture or sunlight. The shorter lived dye inks are often found in cheaper prints, posters and banners. Put another way, the small water-soluble molecules of dye ink easily fade and degrade over time. In contrast, the large solid molecules of pigment inks are more resistant to fading and environmental factors, making them a better choice for creating long lasting painting reproductions and happy customers!
Based on my experience (and in making mistakes) the step-by-step instructions and tips are written in a success orientated manner. Even so, mistakes can happen. As they say, if you haven't made a mistake you haven't done anything!
There is a short section in the manual called 'Help' for when things go
wrong. From time to time, things may go wrong especially when you are learning
something new and which may be outside your experience. Although it's a part
of learning, it can be frustrating, especially after you have spent time and
effort in the preparation work. Do not despair; in most cases, you can turn
the situation around to your advantage
From my own experience, when
something went wrong, the work was recycled and used as a test piece, rarely
was it binned. The test pieces proved invaluable in getting to know and
understand how to use the various mediums. It's an opportunity to practice and
develop your techniques such as brushwork, varnishing and craquelure. It's far
better to practice on a test piece than on a piece of work that is turning out
really well.
If for example, you've irreparibly damaged the image after it's been removed from the art print, consider completing the task until you have impressed the image into the canvas. You should discover how effective the canvas shows through the image, which you will hopefully find encouraging and inspiring. The canvas can then be used for practicing brushwork, craquelure and ageing techniques. It's also an opportunity to see how varnishing affects the colours and comparing, say silk varnish with gloss varnish.
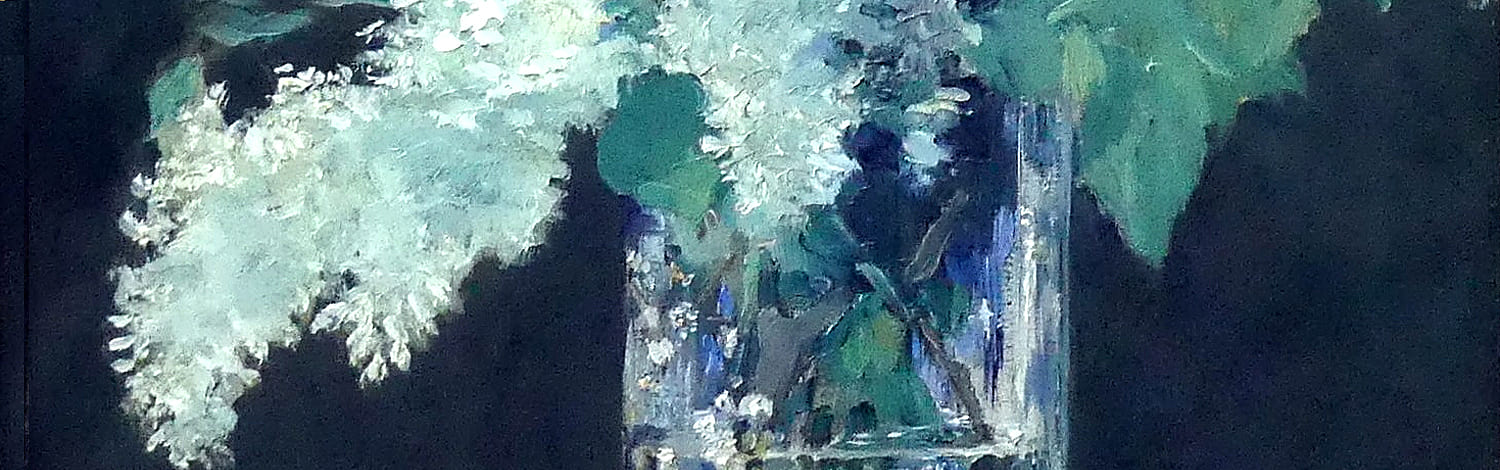
Absolutely not. All of the original colour and beauty of the art print will be retained. The manual describes a new image transfer technique that distinguishes it from existing techniques. You will find some more information, and an example of the embeding effect under Image Transfer
The novel image separation and transfer technique given in the manual uses nothing but water and science. Unlike existing techniques that degrade the image, no chemicals or solvents are used whatsoever. The image is embedded into canvas using water based adhesive. The canvas gesso primer is also water based. Brushwork is done with water-based mediums. Even so, the instructions for the various mediums should be read and followed. Always ensure proper ventilation and follow safety guidelines when using any craft materials.
Cost of the art print + canvas + materials.
The cost mainly depends on the size of the art print. Minimum sizes for art prints typically start at (10cm x 15cm) 4" x 6", which is ideal for small pieces, while maximum sizes can go up to (76cm x 101cm) 30" x 40" or larger for oversized prints.
The manual suggests a small inexpensive shopping list of basic artist materials which will be sufficient to complete a number of canvas transfers. Some of the supplies you will already have as kitchen materials.
Perhaps the best advice is to start-off with a small art print which will help you to succeed first time, as well as gather much practical knowledge. Start small, grow big.
The manual provides step-by-step instructions, tips and plenty of photos on the different ways for completing your transferred canvas:
1. If you're selling your work, it's usual to ship just the canvas in a postal tube.
The options for displaying your artwork include:
2. Mounted to artboard, or similar backing - gallery wrap.
3. Mounted to a stretcher, or strainer - museum wrap.
4. Either option 2 and 3 above framed.
The manual provides full instructions with photos on completing and displaying your completed canvas transfers. See the section on how you can display your canvas transfers.
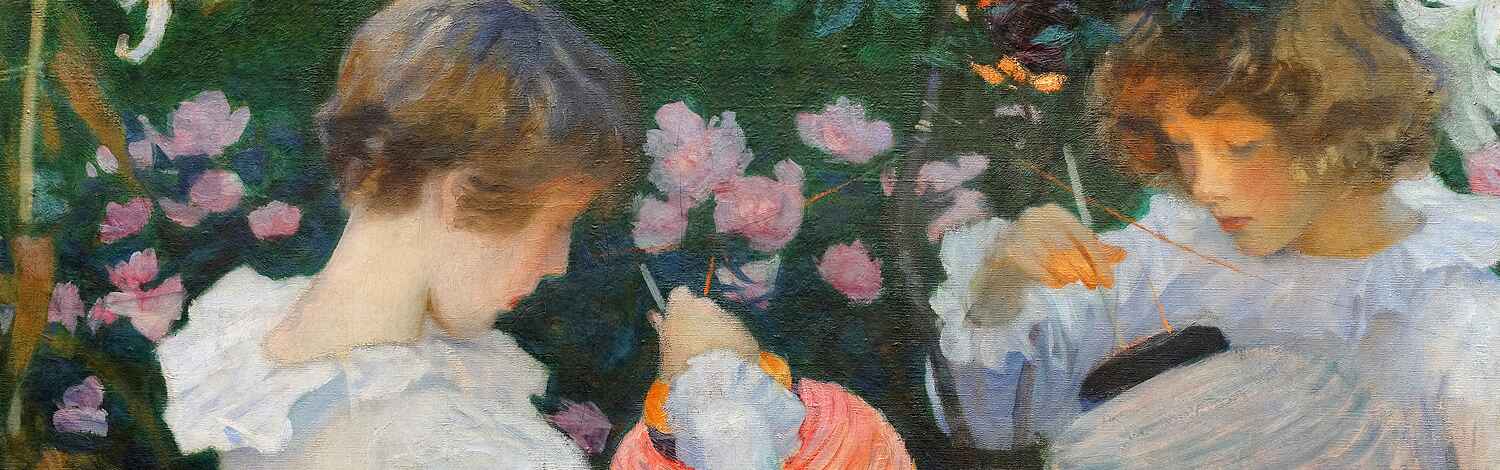
The accuracy, quality and cost of art prints can make it a challenge for a hand painting reproduction to compete.
Art prints purchased from reputable online sources, museums and galleries use archieval materials and are created as true to the original work as possible, using strict colour management protocols and stat-of-art printing technology.
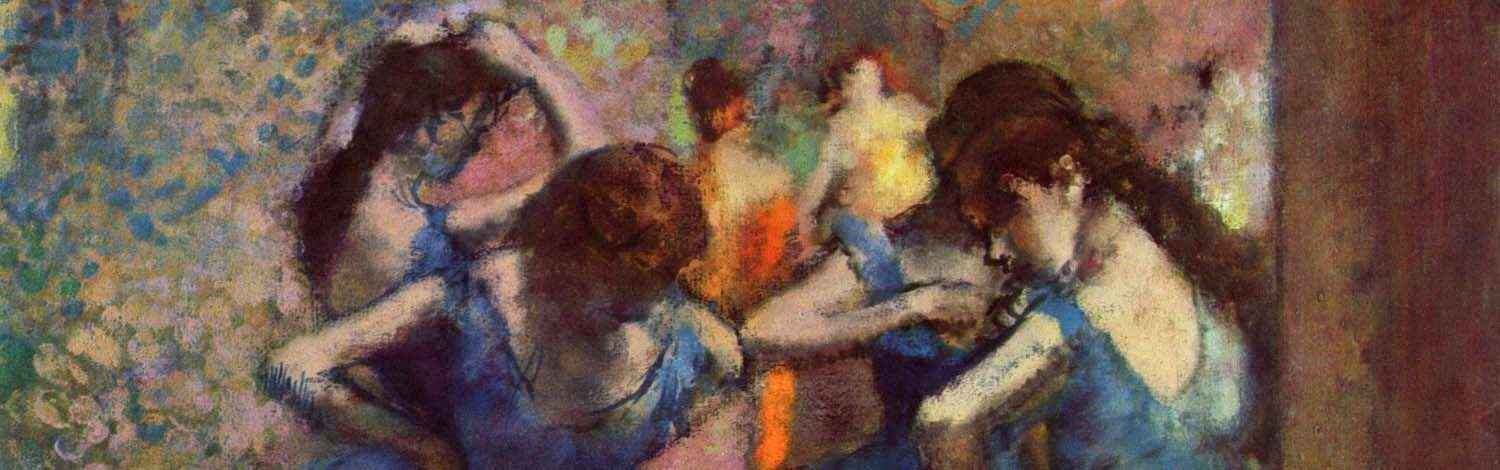
Canvas transfer from an art print
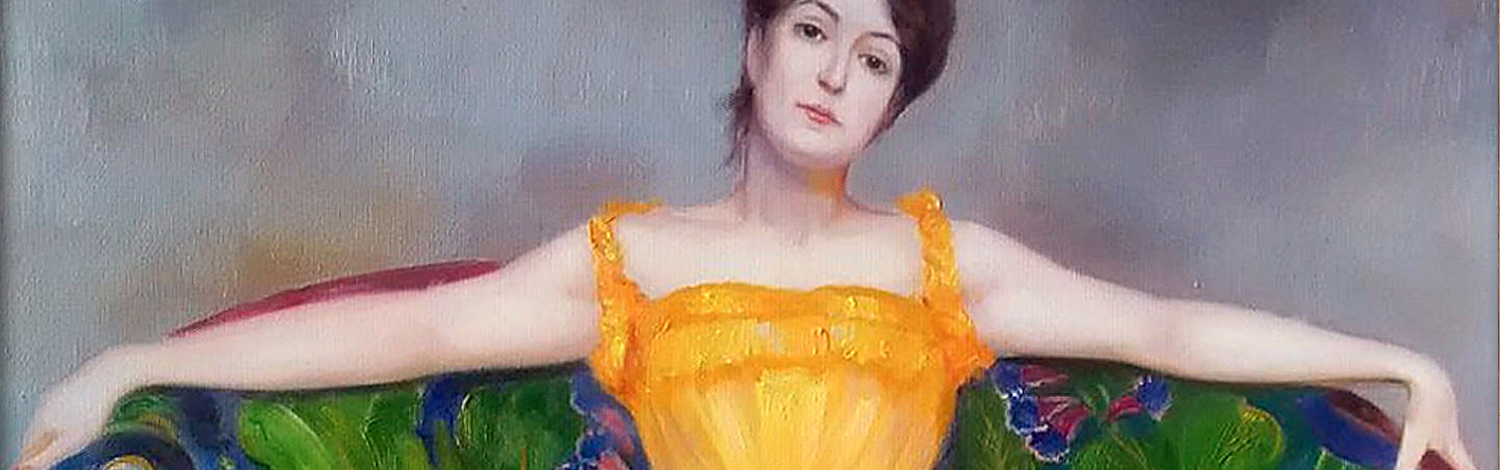
Hand painted reproduction (copying by an artist)
You certainly can. The manual has a large section on Selling your Work. There is also a section on selling canvas transfers and replica paintings. Also, as your experience grows, you will find that there is a strong market for quality reproductions. Check out this article by Fortune Business Insights, on the global art reproduction market
We carried out a trade-off between a printed book and an e-book. For The Art Print Masterpiece, we ultimately decided on using a modern fully active eBook technology for these reasons. The manual uses the same technology as can be seen in this eBook Sampler.